Easy crochet patterns, cute projects, and beginner-friendly ideas to inspire your next make.

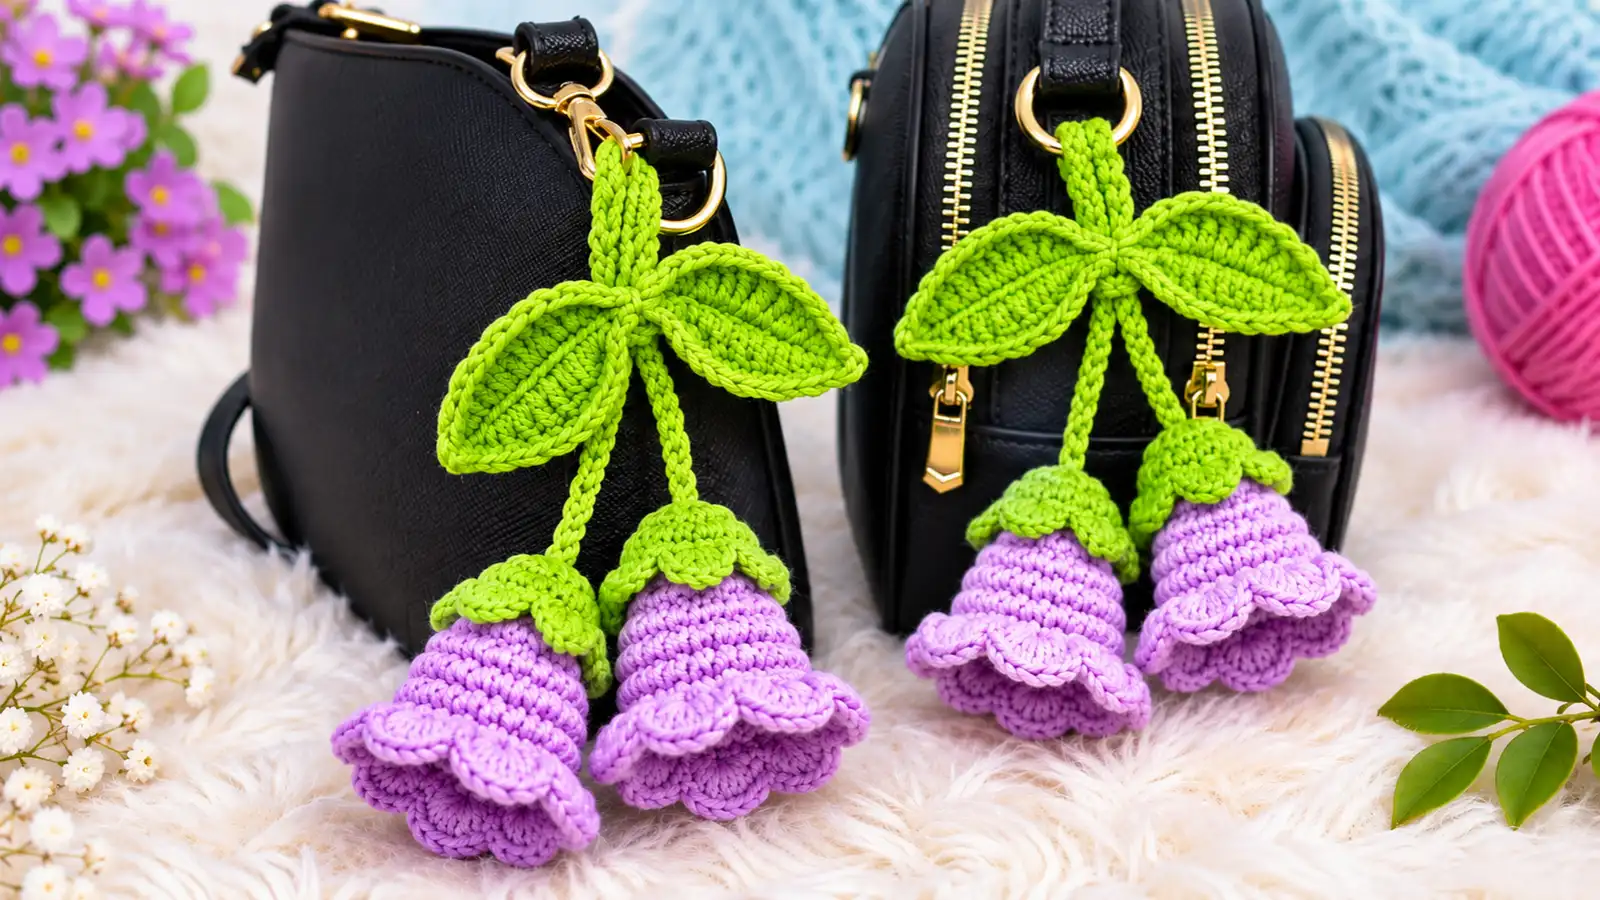
This free Crochet Bell Flower Pattern is a fun, beginner-friendly way to add a handmade touch to your bag or backpack. Follow the simple steps to make two adorable bell-shaped flowers with scalloped edges, green leaves, and a hanging loop—perfect for a cute crochet bag charm.
Table of Contents
Crochet Bell Flower Pattern at a Glance
| Pattern Detail | Information |
|---|---|
| Skill level | Confident beginner |
| Crochet terminology | US terms |
| Yarn | DK cotton yarn (#3), suggested |
| Crochet hook | 3.0 mm, suggested starting size |
| Construction | Continuous rounds and separate assembly |
| Flowers | 2 |
| Leaves | 2 |
| Flower edging | 6 scallops per flower |
| Stuffing | Not required |
| Gauge | Not critical |
| Finished size | Not yet measured |
| Making time | Not yet verified |
This project uses a magic ring, single crochet increases, and basic sewing. If those techniques are new to you, work slowly and count your stitches at the end of every increase round.
What You’ll Need
Gather the following supplies before you begin:
- DK cotton yarn in your chosen flower color
- Green DK cotton yarn for the leaves, stems, and hanging loop
- 3.0 mm crochet hook
- Yarn needle
- Scissors
- Stitch marker
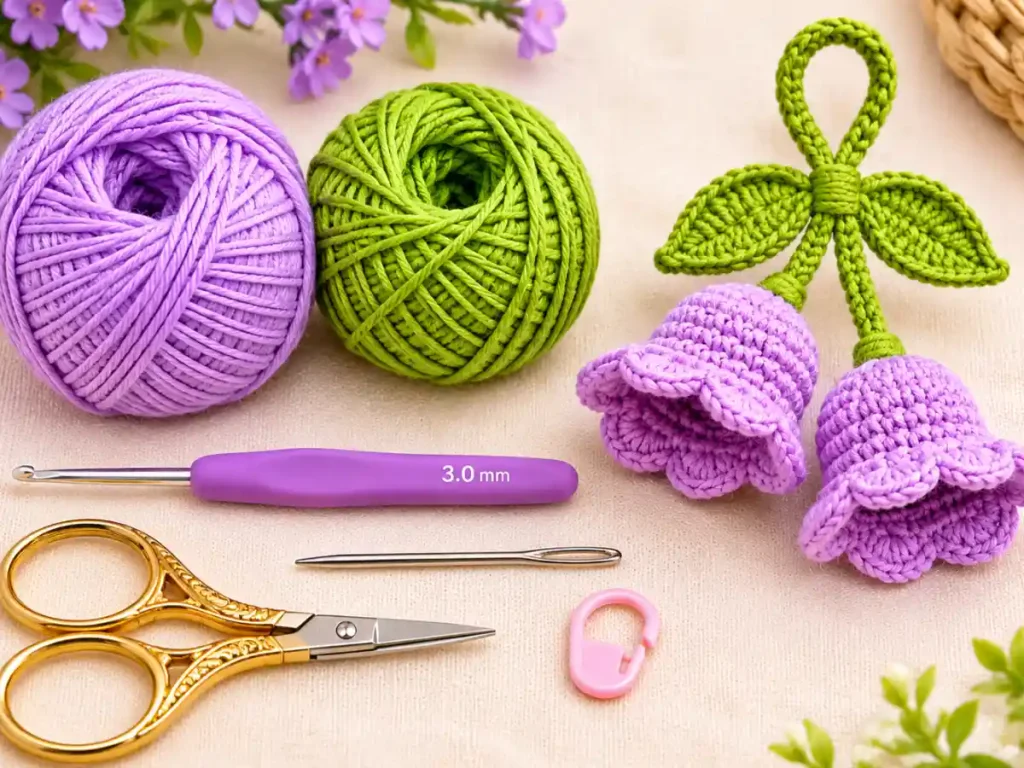
You can choose lavender, pink, blue, cream, or another color for the flowers. A smooth yarn with clear stitch definition will make the smaller rounds easier to count.
You do not need fiberfill or wire for this design.
Crochet Stitches and Abbreviations
This pattern uses US crochet terminology.
| Abbreviation | Meaning |
|---|---|
| MR | Magic ring |
| ch | Chain |
| sl st | Slip stitch |
| sc | Single crochet |
| hdc | Half double crochet |
| dc | Double crochet |
| inc | 2 single crochets in the same stitch |
| st / sts | Stitch / stitches |
| rep | Repeat |
You can find additional stitch definitions in the Craft Yarn Council crochet abbreviations guide.
Before You Start
A few details will help you follow this crochet bell flower pattern correctly.
First, the flower is worked in continuous spiral rounds. Do not join rounds with a slip stitch. Instead, place a stitch marker in the first stitch of each round and move it upward as you work.
The bell starts with six stitches at the narrow top and gradually increases to 24 stitches at the opening.
Once the body is complete, a repeating edging sequence creates six decorative scallops.
Make two matching flowers before starting the leaves and hanging cords.
Important: The numbers in parentheses at the end of each round show how many stitches you should have after completing that round.
How to Crochet a Bell Flower Step by Step
Step 1: Make the Narrow Top
Using your flower-colored yarn, make a magic ring.
Round 1: Work 6 sc into the magic ring. (6)
Pull the beginning tail to close the center.
Round 2: Work 1 sc in each stitch around. (6)
At this point, your crochet piece is very small. The second round begins building the narrow top of the bell.
Checkpoint: Count exactly six stitches before continuing.
Step 2: Begin Shaping the Bell
Round 3: [Sc in next st, inc in next st] × 3. (9)
Round 4: Sc in each stitch around. (9)
Round 5: [Sc in next 2 sts, inc] × 3. (12)
Round 6: Sc in each stitch around. (12)
The increases gradually widen the flower while the straight rounds add height.
If your stitch count is incorrect, correct that round before continuing.
Step 3: Widen the Flower
Round 7: [Sc in next 3 sts, inc] × 3. (15)
Round 8: Sc in each stitch around. (15)
Round 9: [Sc in next 4 sts, inc] × 3. (18)
Round 10: Sc in each stitch around. (18)
Your crochet piece should be getting wider toward the open end.
Avoid pulling the stitches too tightly. The flower needs enough flexibility for the final edging.
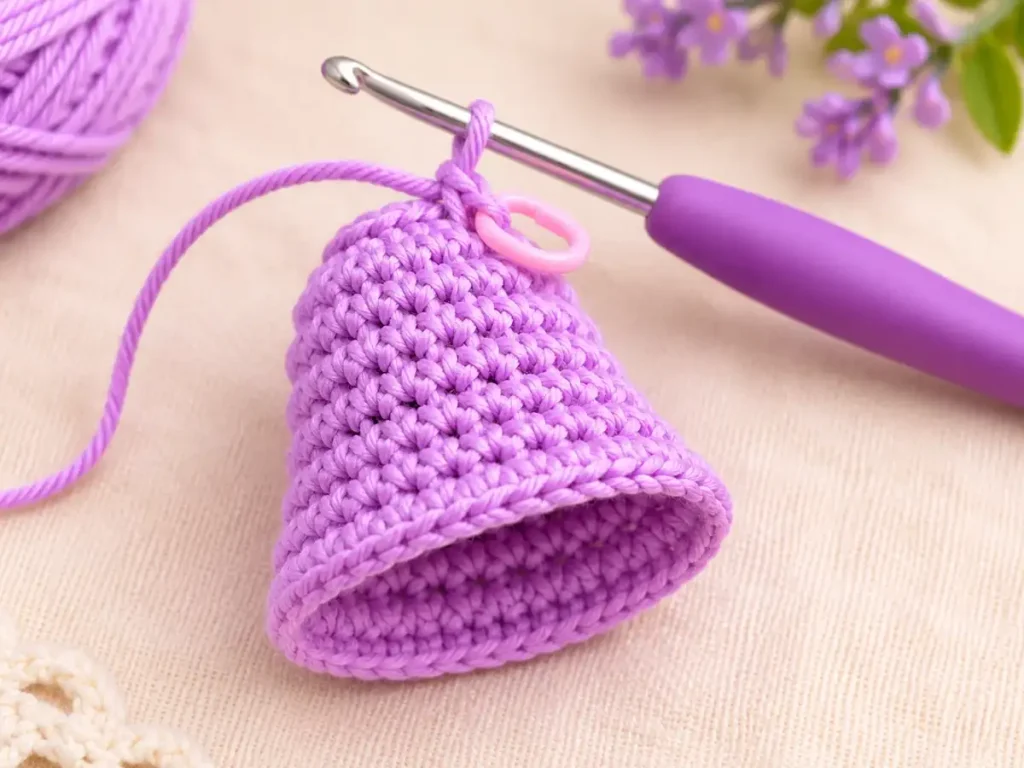
Step 4: Finish the Bell Body
Round 11: [Sc in next 2 sts, inc] × 6. (24)
Round 12: Sc in every stitch around. (24)
Stop here and count the final round.
You must have exactly 24 stitches before working the scalloped edging.
This matters because the edging divides the opening into six equal sections, with four base stitches used for each section.
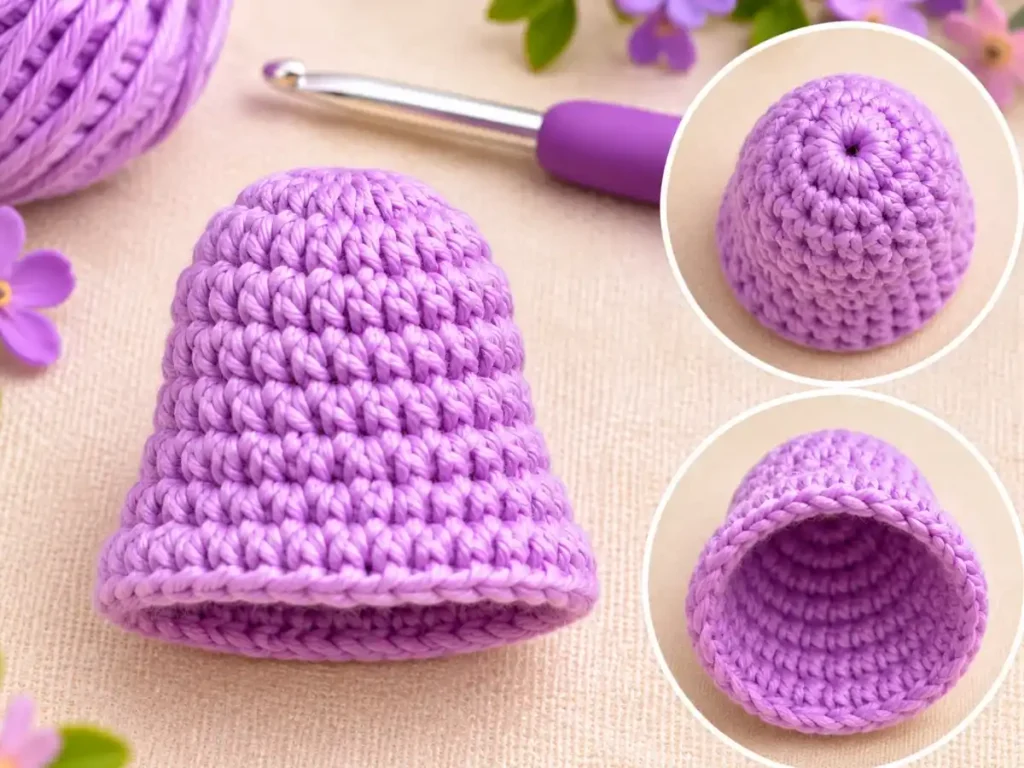
Step 5: Crochet the Scalloped Edge
Round 13:
Repeat the following sequence six times:
[sc in next st, 3 dc in next st, sc in next st, sl st in next st]
Each repeat uses four stitches from Round 12 and forms one decorative scallop.
After six repeats, you will have:
- 6 scalloped sections
- All 24 base stitches used
- 36 worked stitches across the edging sequence, including slip stitches
Do not add another joining slip stitch. Fasten off after completing the final repeat.
Weave in the finishing tail securely without pulling the edge out of shape.
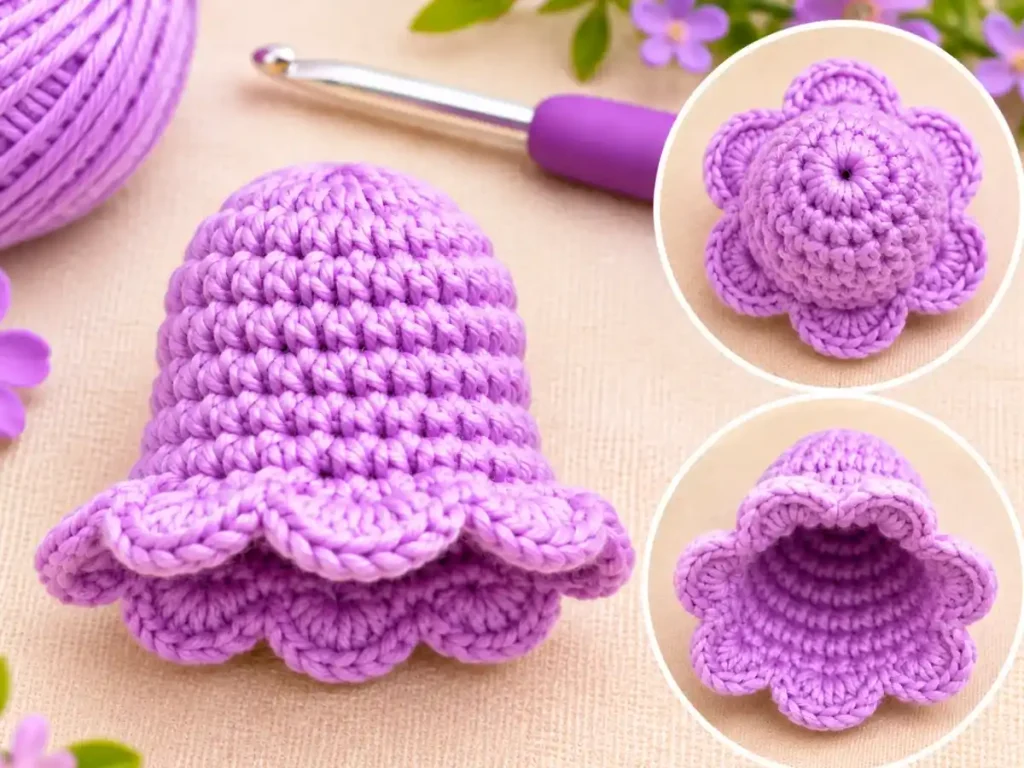
Step 6: Make the Second Bell Flower
Repeat Steps 1–5 to make another flower.
Use the same hook size and yarn thickness if you want the two flowers to have similar proportions.
You can make them in matching colors or choose two complementary shades.
How to Crochet the Green Leaves
Make two leaves using green yarn.
Each leaf is worked around both sides of one foundation chain to create an elongated oval.
Step 1: Make the Foundation Chain
Ch 9.
Starting in the second chain from the hook:
- Sc in the first available chain.
- Hdc in the next chain.
- Dc in the next 4 chains.
- Hdc in the next chain.
- Work 3 sc into the last chain to form the rounded tip.
Step 2: Work Along the Other Side
Rotate your work so you can crochet into the unused loops along the opposite side of the foundation chain.
Do not make another starting chain.
Continue:
- Hdc in the next available chain.
- Dc in the next 4 chains.
- Hdc in the next chain.
- Sc in the last chain.
Join with a sl st to the first sc.
You should have 17 stitches, excluding the joining slip stitch.
Fasten off, leaving a long tail for sewing.
Make a second matching leaf.
You can turn one leaf over during assembly to create a mirrored arrangement.
How to Make the Hanging Stems
The two stems are slightly different lengths so the finished flowers can hang at different heights.
Short Stem
Using green yarn:
Ch 20.
Work 1 sl st into the second chain from the hook and into every remaining chain.
You should have 19 slip stitches.
Fasten off, leaving yarn tails for attaching the stem.
Long Stem
Ch 25.
Work 1 sl st into the second chain from the hook and into every remaining chain.
You should have 24 slip stitches.
Fasten off, leaving yarn tails for sewing.
Keeping the chains relaxed will make the stems easier to work without puckering.
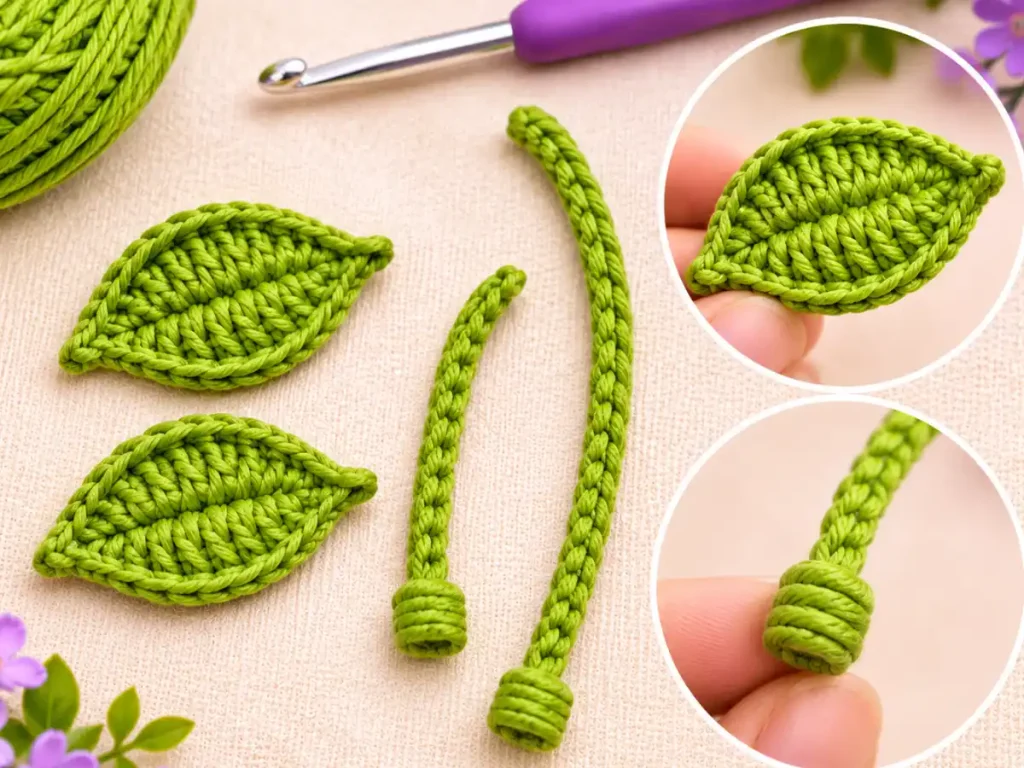
How to Crochet the Hanging Loop
Using green yarn:
- Ch 42.
- Join with a sl st to the first chain, taking care not to twist the chain.
- Work one sl st into each of the 42 chains around the loop.
- Join to the first reinforcement slip stitch.
- Fasten off, leaving a long sewing tail.
The reinforced loop is designed to be more substantial than a plain foundation chain.
Its actual length will depend on your yarn and tension.
How to Assemble the Crochet Bell Flower Bag Charm
This is the stage where the separate pieces become one hanging accessory.
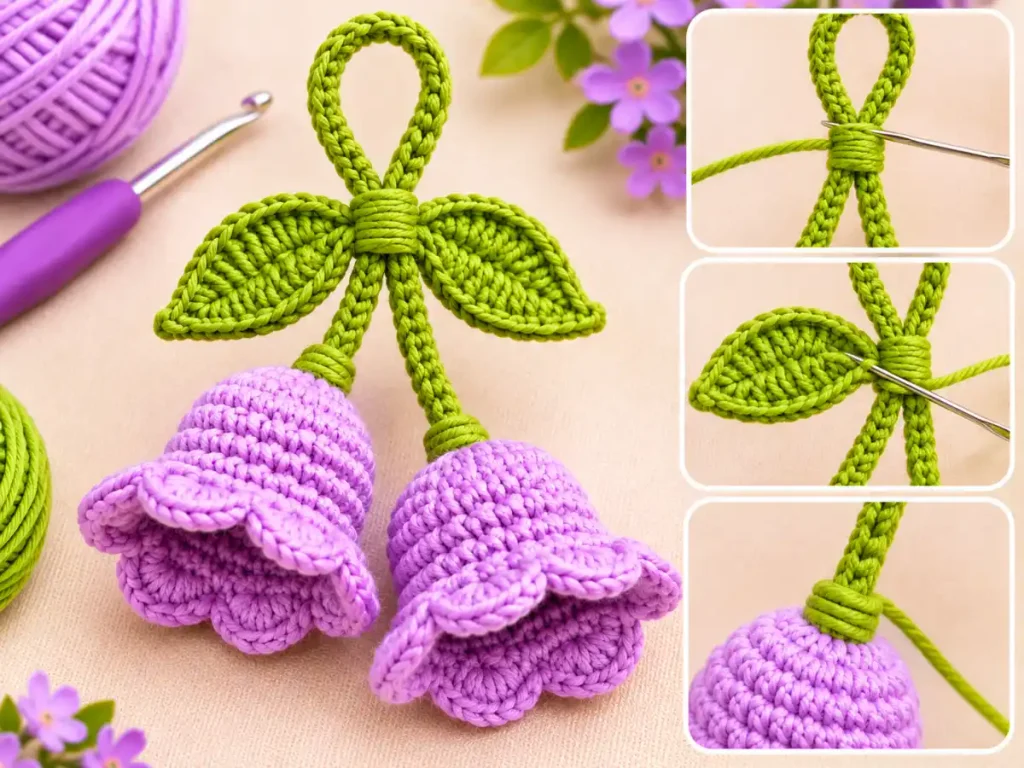
Step 1: Attach the Flowers
Thread the sewing tail of the short green stem onto your yarn needle.
Sew the end of the stem securely through several stitches around the narrow top of the first flower, near Round 1.
Repeat with the longer stem and the second flower.
Make several small securing stitches so neither flower relies on a single loop of yarn.
Weave in the remaining tails.
Step 2: Connect the Stems to the Loop
Bring the free ends of the two stems together at the bottom of the hanging loop.
Use the remaining yarn tails to sew the stems firmly to the loop.
Position one stem slightly lower than the other so the flowers can hang at different heights.
Step 3: Attach the Leaves
Position the two green leaves around the point where the stems meet the hanging loop.
Use the leaf sewing tails to stitch their bases over the stem junction.
Arrange the leaves so that one points slightly to the left and the other to the right.
Secure them with several stitches.
Step 4: Finish the Charm
Check every attachment point.
If the central junction looks untidy, wrap a short piece of green yarn around it and secure the ends with a yarn needle.
Weave in any remaining tails.
Gently arrange the flowers, leaves, and stems with your fingers.
Before attaching the charm to a bag, give each sewn connection a gentle pull to check that it is secure.
The charm is intended as a decorative accessory rather than a weight-bearing handle.
Common Crochet Bell Flower Problems and Fixes
My Flower Looks Too Flat
First, check the stitch counts from Rounds 3–12.
If the counts are correct, yarn thickness and tension may be affecting the proportions.
Try a small swatch with a different hook size before changing the actual pattern.
My Scallops Are Uneven
Each scallop needs four base stitches.
Check that you worked three double crochets into the same stitch and completed all six repeats.
Do not add extra stitches between repeats.
My Leaves Are Curling
Check that you worked along both sides of the foundation chain and placed all three single crochets in the turning chain.
Working the foundation chain very tightly can make the leaf harder to shape.
My Stems Feel Too Loose
Reinforce the attachment points with additional sewing stitches.
Do not rely on a single knot to hold the flowers in place.
Crochet Bell Flower Color Ideas
One of the nicest things about this small crochet project is how easily you can change its appearance with different yarn colors.
Try soft lavender with sage-green leaves for a delicate pastel look.
Pale pink and cream make a sweet combination for a handmade gift, while blue flowers with deeper green leaves offer a brighter contrast.
You can also create matching charms for different bags or make a small set in several colors.
Frequently Asked Questions
Is This Crochet Bell Flower Pattern Beginner-Friendly?
It is best suited to beginners who already know how to make a magic ring, single crochet, basic increases, and double crochet stitches.
The sewing and assembly stages require a little patience.
Can I Use Different Yarn?
Yes. You can try different yarn weights, but choose a hook size appropriate for the yarn.
The stitch counts can remain the same, although the finished size and shape may change.
Do I Need to Add Stuffing?
No. The bell flowers are designed with open, unstuffed interiors.
Can I Make Only One Bell Flower?
Yes. You can use a single flower with one stem and the hanging loop if you prefer a simpler accessory.
You can also add another leaf if you want a fuller arrangement.
Can I Turn It Into a Keychain?
You can attach the completed charm to a suitable keyring or clasp. Make sure the connection is secure before using it.
Can I Wash the Finished Charm?
Follow the care instructions for your yarn. Gentle hand washing and reshaping while damp may be preferable for a delicate handmade accessory.
More Easy Crochet Patterns to Try
If you enjoyed learning how to crochet a bell flower, you might like these other small floral projects:
- Easy Crochet Flower Pattern — a simple five-petal design for beginners.
- Crochet Tulip Pattern — a three-dimensional flower with a shaped bud and leaf.
Both projects offer a different way to explore small crochet flowers.
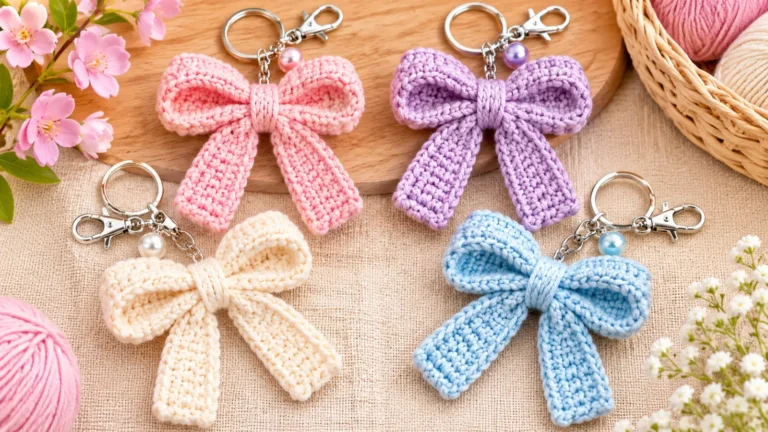
For a different bag charm made from two crochet rectangles, try our crochet bow keychain pattern.
A Little Handmade Flower to Keep
This crochet bell flower pattern brings together simple rounds, a decorative edging, and a few small finishing pieces.
Whether you choose lavender, pink, cream, or another favorite color, the design can be customized to suit your style.
Keep your stitches even, check your round counts, and take your time when attaching the stems and leaves.
Happy crocheting!