Easy crochet patterns, cute projects, and beginner-friendly ideas to inspire your next make.

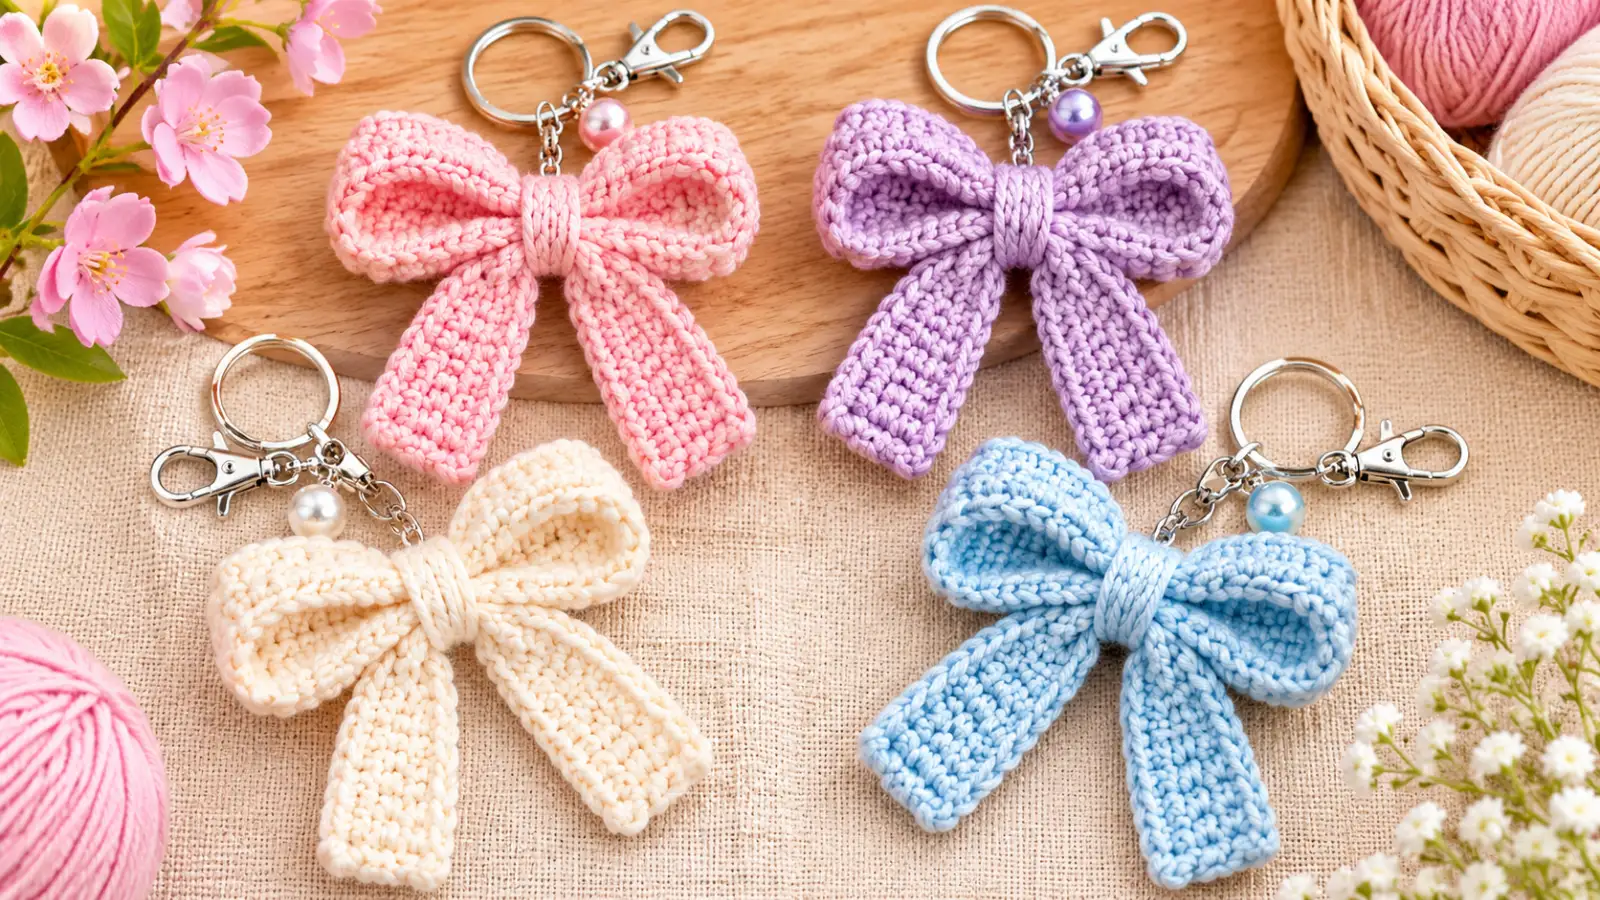
A crochet bow keychain is a cute, beginner-friendly project that adds a handmade touch to your keys, purse, or backpack. With just two simple crochet pieces and a little sewing, you can create an adorable ribbon-shaped bow that’s perfect for gifting or keeping.
Table of Contents
Crochet Bow Keychain Pattern at a Glance
This little crochet project uses basic single crochet stitches to make two flat rectangles. The pieces are folded and joined to create the bow’s rounded loops and hanging ribbon tails.
| Pattern Detail | Information |
|---|---|
| Skill level | Beginner |
| Yarn weight | Medium-weight yarn (#4) |
| Crochet hook | 5.5 mm |
| Yarn needed | Approximately 6 g |
| Crochet terminology | US terms |
| Main stitches | Chain and single crochet |
| Construction | Two rectangles, sewn together |
| Finished size | Approximately 3 × 3.5 inches (7.5 × 9 cm) |
| Stuffing | Not required |
| Keychain hardware | Optional |
The yarn quantity and finished size are from the original designer’s sample. Your results may vary depending on the yarn, hook, and tension.
This tutorial follows the two-piece bow construction designed by VivCrochets. You can also watch the creator’s original crochet bow video tutorial for a visual demonstration of the folding and assembly.
Materials You’ll Need
You only need a few basic crochet supplies to make this small bow keychain:
- Yarn: Approximately 6 g of medium-weight (#4) yarn in your favorite color.
- Crochet hook: 5.5 mm.
- Yarn needle: For joining the pieces and securing the bow.
- Scissors: For cutting your yarn.
- Keychain ring or clasp: Optional, for turning your bow into a keychain or bag charm.
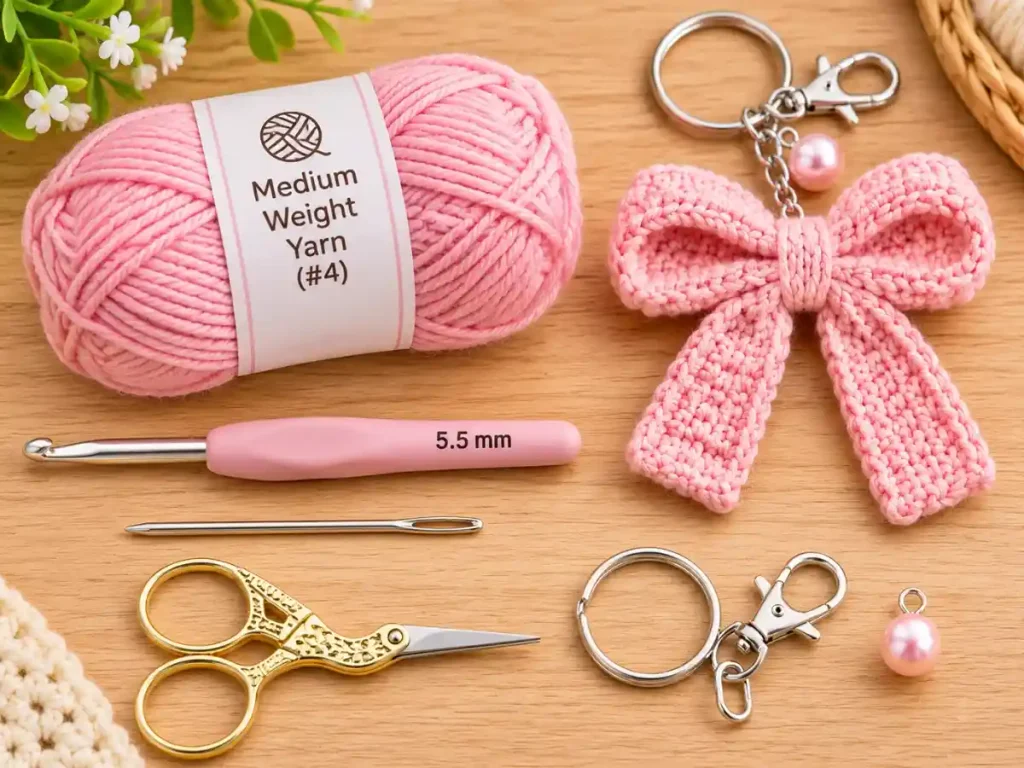
Smooth acrylic yarn works well for this design. The original tutorial uses Red Heart Super Saver in the Aran color.
You can also try cotton yarn, although changing the fiber or yarn weight may affect the bow’s texture and finished size.
Soft pink, lavender, baby blue, and cream are lovely choices if you prefer a pastel look.
Crochet Stitches and Abbreviations
This crochet bow keychain pattern uses US crochet terminology.
| Abbreviation | Meaning |
|---|---|
| ch | Chain |
| sc | Single crochet |
| st | Stitch |
| sts | Stitches |
| FO | Fasten off |
Important Pattern Notes
Before you begin, keep these details in mind:
- Both crochet pieces are worked in rows, not rounds.
- The chain 1 used for turning does not count as a stitch.
- Each rectangle contains four rows of 20 single crochet stitches.
- The first piece needs a long yarn tail for assembly.
- No magic ring, stuffing, or separate crocheted center band is needed.
Count your stitches at the end of each row to keep the edges straight.
How to Crochet a Bow Keychain – Step by Step
The bow is made in two parts: the upper loops and the hanging ribbon tails. Once both rectangles are complete, you’ll fold and secure them together.
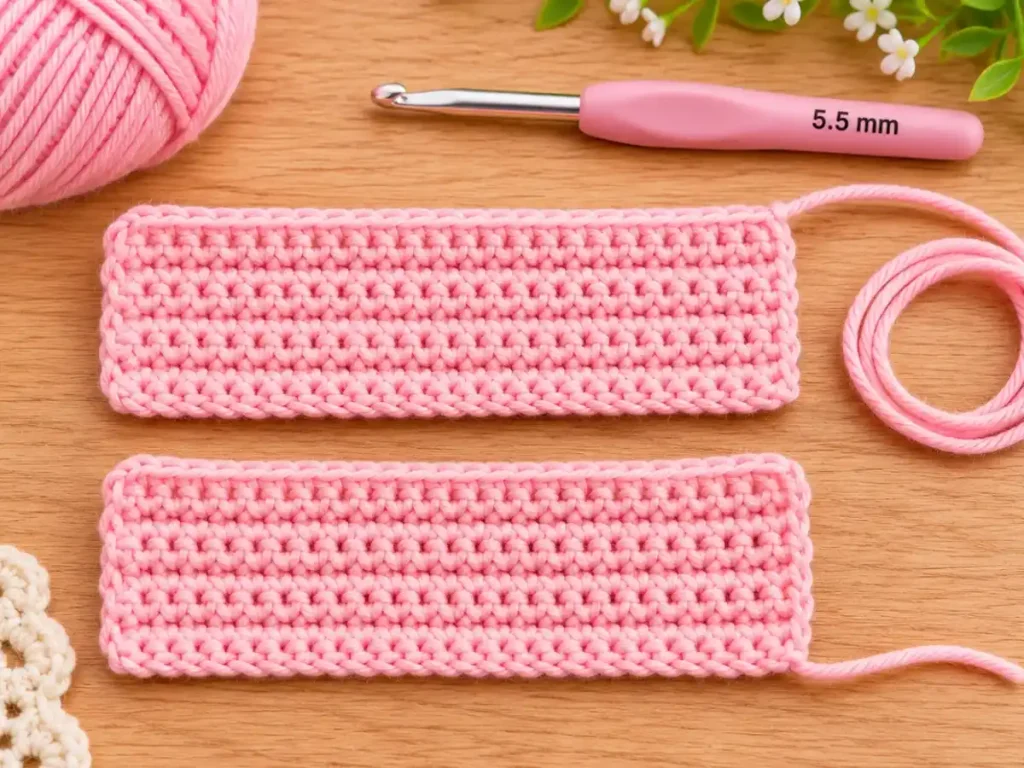
Step 1: Crochet the Top Bow Piece
Start with your chosen yarn color and a 5.5 mm crochet hook.
Foundation Chain: Make a slip knot and chain 21.
Row 1: Starting in the second chain from your hook, work one single crochet into each chain across. (20 sc)
Row 2: Chain 1, turn your work, and single crochet into each stitch across. (20 sc)
Row 3: Chain 1, turn, and single crochet across. (20 sc)
Row 4: Chain 1, turn, and work one single crochet in every stitch across. (20 sc)
Fasten off, leaving approximately 18 inches (45 cm) of yarn for sewing and assembling the bow.
Keep the starting yarn tail available as well, since it will help secure the center during assembly.
Stitch Check: Your finished rectangle should have 20 stitches in each of its four rows.
You now have the strip that will form the rounded upper loops of your crochet bow.
Step 2: Make the Hanging Ribbon Tails
The second piece uses the same stitch pattern as the first.
Foundation Chain: Chain 21.
Row 1: Work one single crochet into the second chain from your hook and each remaining chain. (20 sc)
Row 2: Chain 1, turn, and single crochet across. (20 sc)
Row 3: Chain 1, turn, and single crochet across. (20 sc)
Row 4: Chain 1, turn, and single crochet across. (20 sc)
Fasten off, leaving a normal finishing tail rather than the longer sewing tail used for the first piece.
Weave in the loose ends of this second rectangle.
Stitch Check: You should now have two matching crochet rectangles, each containing four rows of 20 single crochet stitches.
The first will become the bow loops, while the second will form the two hanging ribbon tails.
Step 3: Form the Upper Bow Loops
Take the first rectangle, keeping its long sewing tail accessible.
Bring the two short ends together so the strip forms a closed loop.
Using your yarn needle and the long tail, sew the ends together securely.
Flatten the loop and position the seam in the center at the back.
You should now see two rounded sides forming the upper portion of the bow.
Pinch the middle of the flattened loop. Wrap the long yarn tail around its center once, tightening enough to bring the middle together without overly compressing the crochet fabric.
Secure this initial wrap with a double knot using the other yarn end, while keeping the remaining long tail available for the next assembly steps.
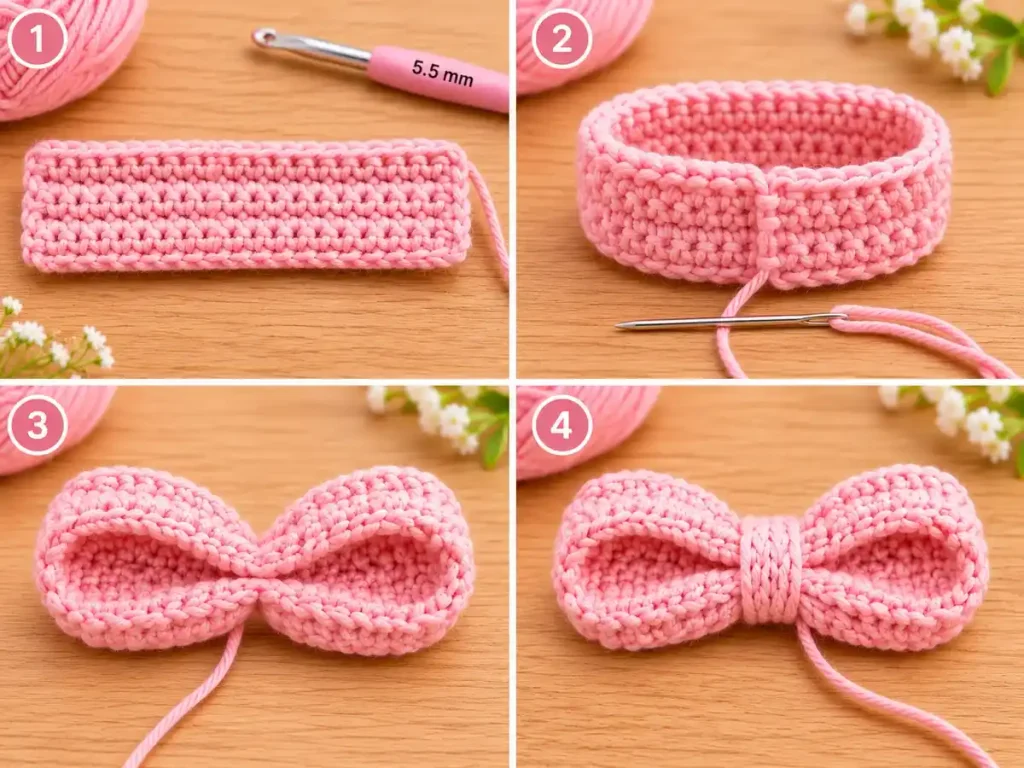
Beginner Tip: Before tightening the center, check that the left and right loops are approximately even.
Step 4: Shape the Hanging Ribbon Tails
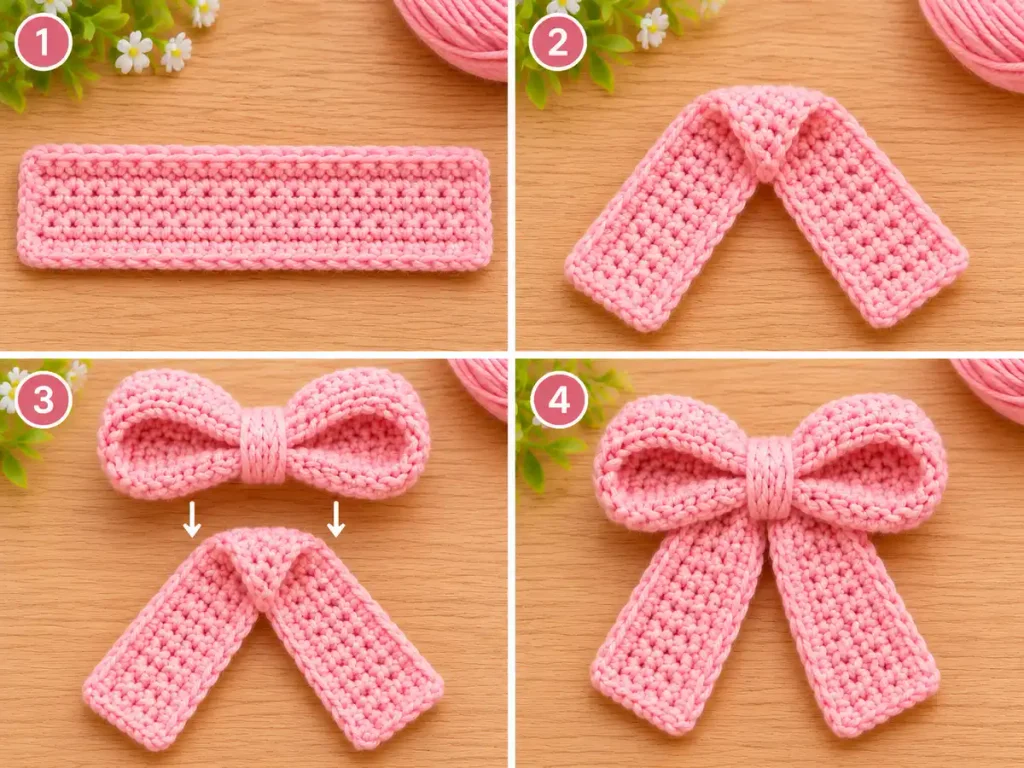
Lay the second crochet rectangle flat.
Locate the middle of its long upper edge.
Fold that upper middle section downward slightly to create the center fold shown in the original tutorial.
Position the folded piece vertically so the two ends extend downward.
These ends will become the hanging tails of your crochet bow.
Place the upper bow loops over the folded center of the second rectangle.
Adjust the positioning until both ribbon tails hang neatly below the upper loops.
Take a moment to check the arrangement before securing the two pieces together.
Step 5: Wrap and Secure the Bow Center
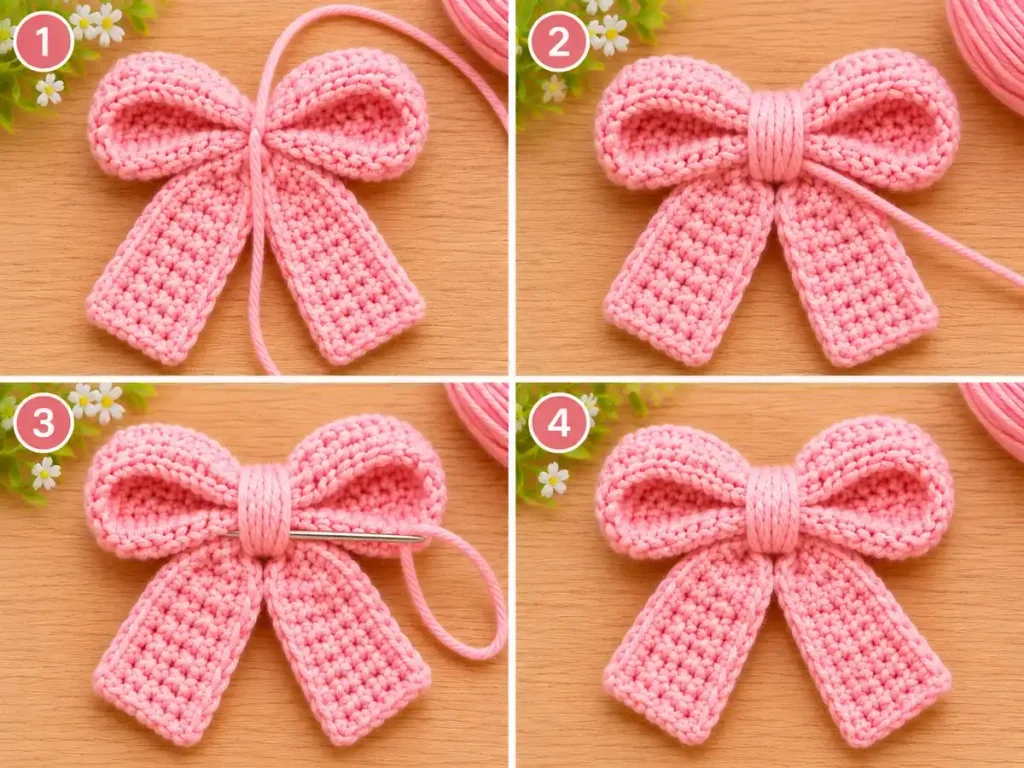
Hold both crochet pieces together in their correct positions.
Take the remaining long yarn tail from the upper piece and begin wrapping it around the shared center.
Pull each wrap firmly enough to keep the two pieces together, but avoid distorting the stitches.
Continue wrapping until the center is secure, leaving a short length of yarn for fastening.
Tie a tight double knot using the available yarn ends, following the original tutorial’s assembly method.
Use your yarn needle to hide the remaining ends neatly.
The center wraps create the gathered middle of the bow, so you don’t need to crochet an additional band.
Check Your Work: The upper loops should stay in position when you gently adjust the hanging tails.
Step 6: Attach the Keychain Ring
To turn your finished bow into a keychain, you’ll need a suitable metal keyring or clasp.
Locate the reinforced center at the top of the bow.
Carefully attach the keychain hardware beneath the yarn wraps, as demonstrated in the source tutorial.
Make sure the hardware sits securely without pulling apart the crochet stitches.
Gently check the connection before attaching the charm to your keys, purse, or backpack.
If you’re making a decorative bow without keychain hardware, you can skip this step.
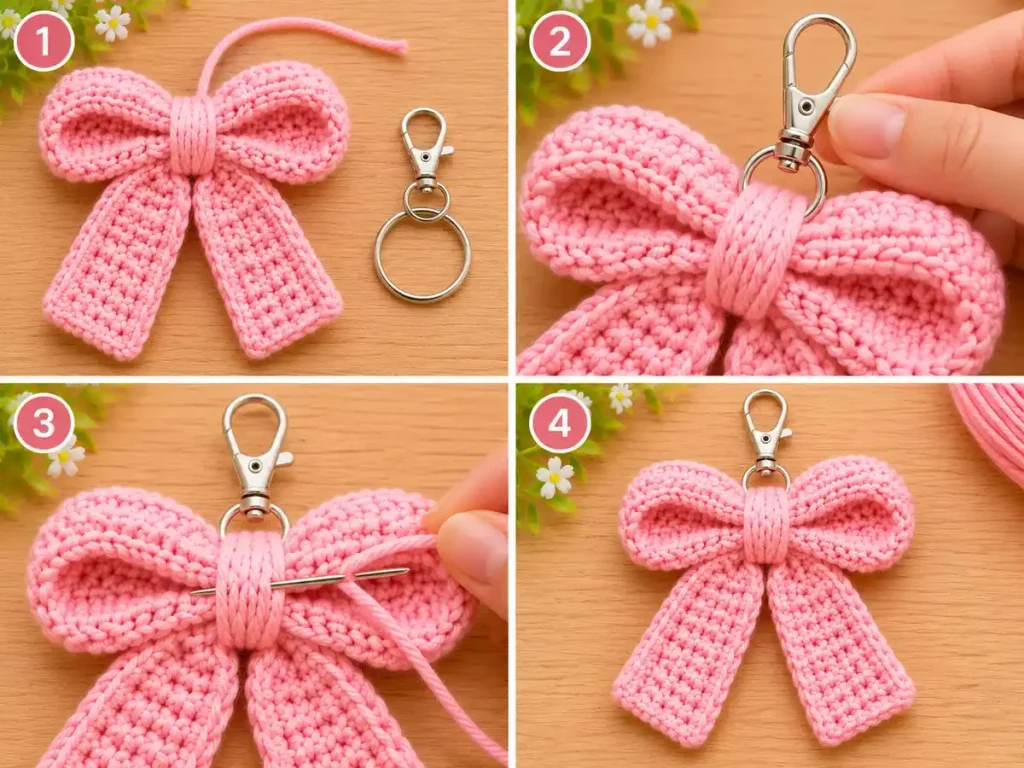
Step 7: Shape and Finish Your Crochet Bow
Your crochet bow keychain is almost complete!
Use your fingers to gently spread and shape the two upper loops.
Straighten the hanging ribbon tails so they fall naturally.
Check that the center wraps are secure and that no loose yarn ends are visible.
If necessary, adjust the shape slightly until both sides look balanced.
Your finished crochet bow is ready to use as a small handmade accessory.
Crochet Bow Keychain Color Ideas
One of the easiest ways to personalize this crochet bow keychain pattern is by changing the yarn color.
The same construction can create several different looks without changing the stitches.
Soft Pink: A sweet, delicate choice for a pastel bag charm or handmade gift.
Lavender Purple: Lovely for a soft, playful accessory that stands out on a neutral-colored bag.
Baby Blue: A fresh pastel option that looks especially pretty with silver keychain hardware.
Cream White: A simple, timeless shade that works with many different bags and accessories.
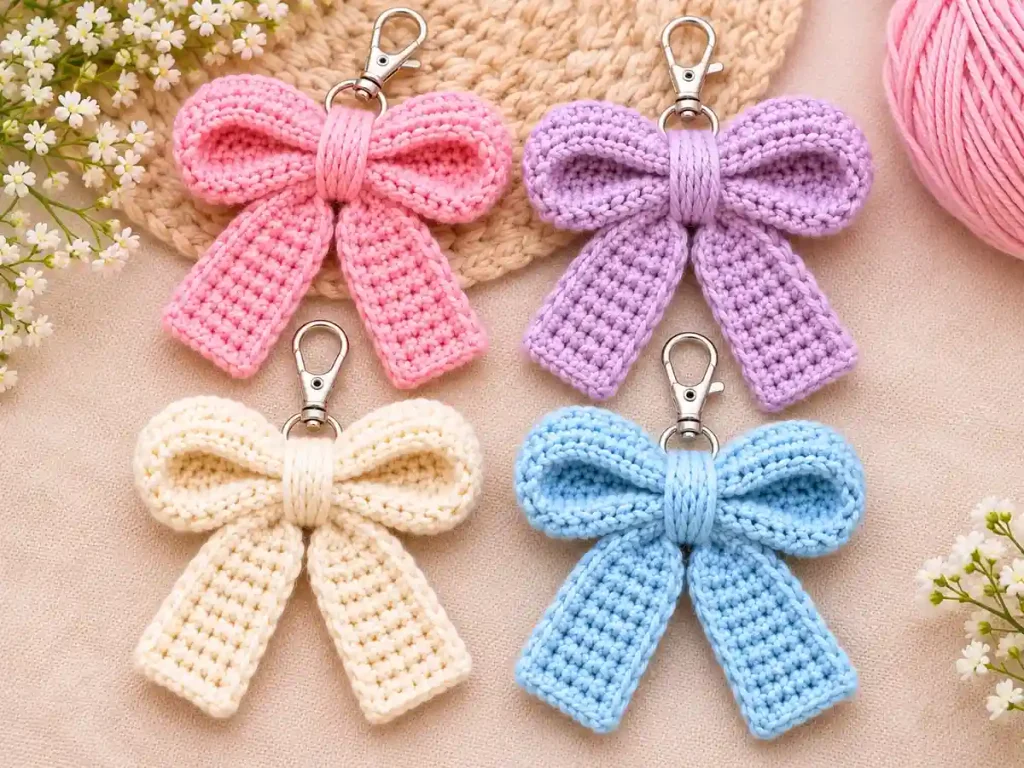
You can also make several bows in coordinating colors and give them as small handmade gifts.
Decorative beads are another styling option, but they are not part of the original crochet instructions. If you add them, use an appropriate attachment method and keep small detachable components away from young children.
Common Crochet Bow Problems and Beginner Tips
Why Are My Bow Loops Uneven?
This can happen when the seam isn’t centered correctly before you tighten the middle.
Flatten the upper piece carefully and check that both sides are balanced before making the center wraps.
Why Are My Ribbon Tails Twisting?
Make sure the second rectangle is positioned flat before folding its upper center.
Hold both pieces in place while wrapping the yarn around the middle.
If the tails shift, reposition them before tightening the final knot.
Why Does My Crochet Rectangle Look Too Tight?
Your yarn tension may be tighter than the original designer’s.
Try relaxing your grip slightly and keeping your single crochet stitches consistent.
Count all 20 stitches in each row to make sure you haven’t accidentally skipped or added stitches.
How Can I Keep the Bow Center Secure?
Make sure the wrapping yarn holds both crochet pieces firmly together.
Use secure finishing knots and weave in the remaining ends carefully.
Check the center and keychain connection periodically if you use the accessory every day.
Can I Make the Crochet Bow Bigger or Smaller?
Yes. You can adjust the number of foundation chains and rows to change the finished proportions.
For a larger bow, you may need additional chains and rows. For a smaller version, use fewer.
Keep both rectangles proportionate, and make a sample before producing several matching keychains.
Frequently Asked Questions
Is This Crochet Bow Keychain Suitable for Beginners?
Yes. The crochet sections use basic chains and single crochet stitches. The assembly requires some folding and sewing, but the two-piece construction is approachable for beginners.
Can I Use Cotton Yarn Instead of Acrylic?
Yes. Cotton yarn is an option if you prefer a different texture. Choose an appropriate hook for your yarn and remember that the finished dimensions may change.
Do I Need Stuffing for This Crochet Bow?
No. The bow is made from two flat crochet rectangles, so no fiberfill is required.
Can I Make This Without a Keychain Ring?
Absolutely. You can use the finished crochet bow as an appliqué, gift decoration, or decorative accent on another project.
How Much Yarn Do I Need?
The original designer’s version uses approximately 6 grams of medium-weight yarn. Your yarn usage can vary with tension, hook size, and any adjustments to the pattern.
Can I Turn This Into a Crochet Bag Charm?
Yes. Attach an appropriate clasp or keyring to the reinforced center and secure it to your bag or backpack.
The bow is intended as a decorative accessory, not a weight-bearing attachment.
More Easy Crochet Keychain Patterns
If you enjoyed making this little bow, there are plenty of other small accessories to try.
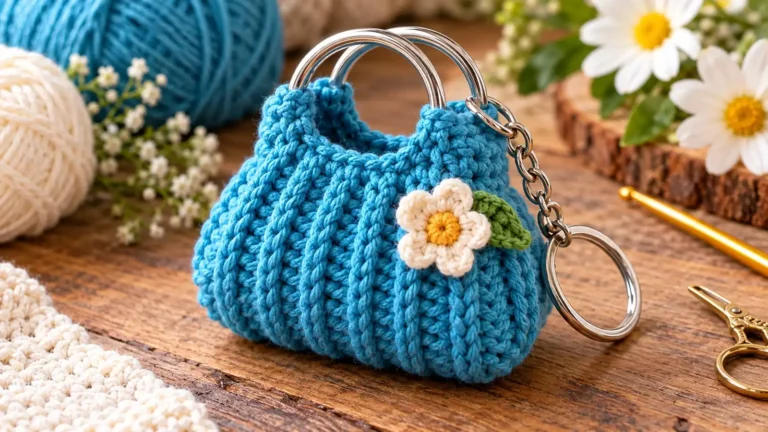
Our Mini Crochet Bag Keychain Pattern is another cute project for anyone who loves tiny handmade bags.
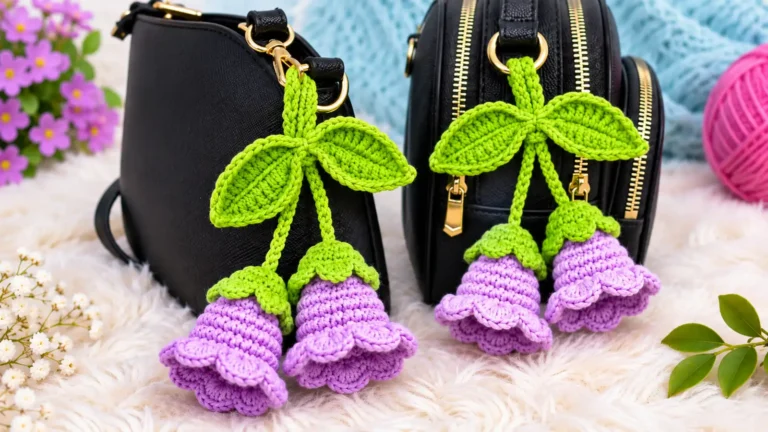
For something floral, explore our Crochet Bell Flower Pattern and turn two delicate flowers into a hanging bag charm.
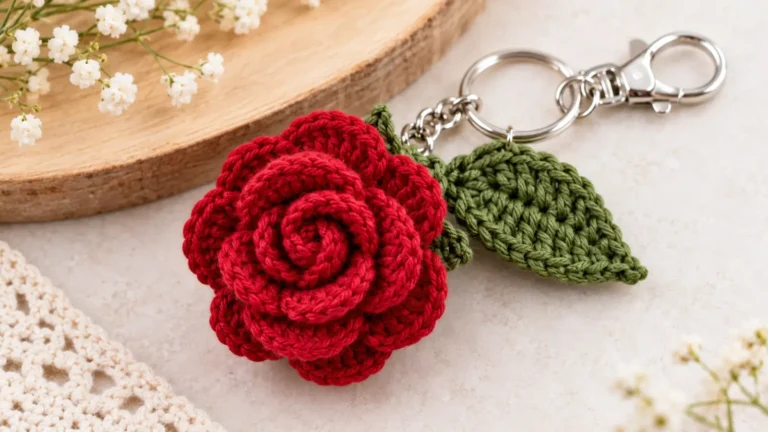
You might also enjoy the Crochet Rose Keychain Pattern for a different handmade accessory with a dimensional flower design.
Each project offers another way to make something small, pretty, and giftable.
A Sweet Little Crochet Project to Finish
This crochet bow keychain is a lovely way to turn simple stitches into a cute everyday accessory. Choose your favorite yarn color, take your time shaping the bow, and enjoy adding a handmade detail to your bag or keys.
Happy crocheting!