Easy crochet patterns, cute projects, and beginner-friendly ideas to inspire your next make.

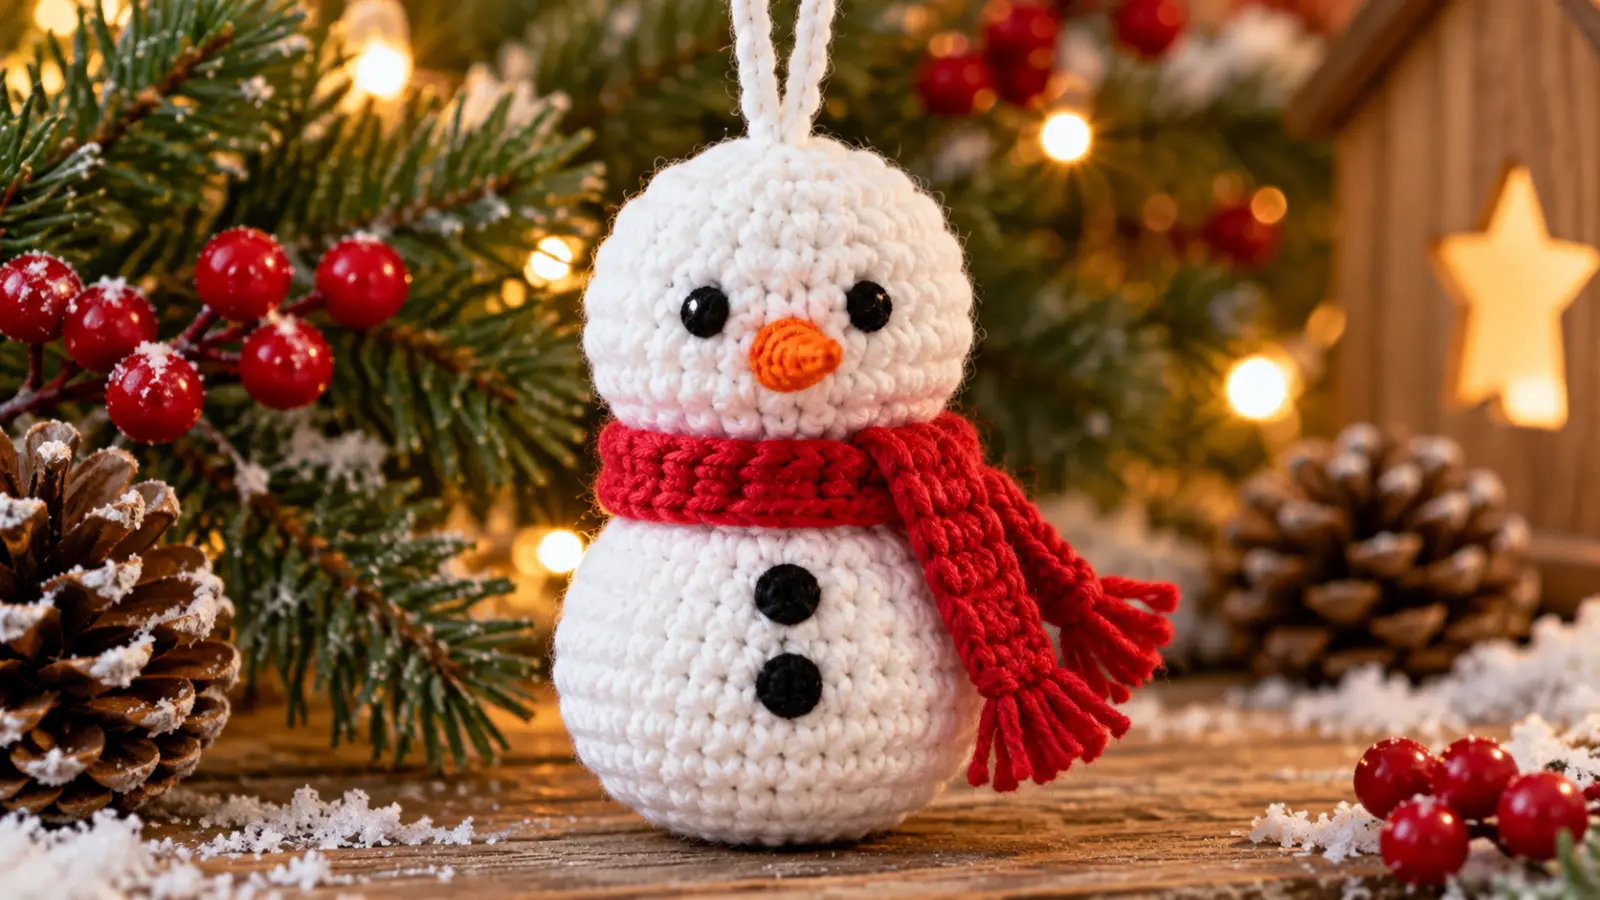
This crochet snowman ornament pattern makes a small 3D Christmas snowman with the head and body worked as one continuous piece. The simple construction keeps assembly to a minimum while still giving the ornament a rounded head, fuller body, embroidered face, two buttons, a colorful scarf, and a hanging loop.
The pattern uses basic amigurumi shaping with increases and decreases. You can keep the snowman simple or personalize the scarf color to match your Christmas decorations.
Finished size will vary depending on your yarn, hook, tension, stuffing, and finishing.
Table of Contents
Crochet Snowman Ornament Pattern at a Glance
| Detail | Pattern |
|---|---|
| Style | 3D Christmas snowman ornament |
| Construction | Continuous head and body |
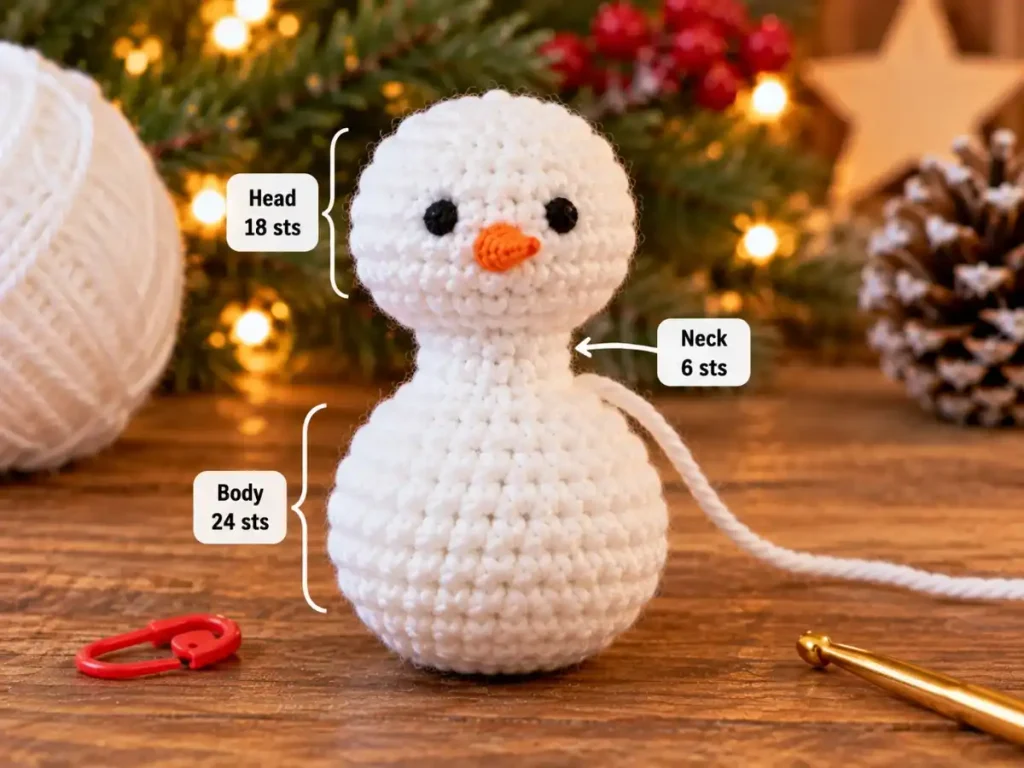
| Head maximum | 18 sts |
| Neck | 6 sts |
| Body maximum | 24 sts |
| Stuffing | Yes |
| Eyes | Embroidered |
| Nose | Embroidered |
| Buttons | 2 embroidered buttons |
| Scarf | Adjustable crochet strip |
| Hanging loop | Ch 12 |
| Terminology | US crochet terms |
What You’ll Need
- white yarn for the head and body;
- black yarn or embroidery thread for the eyes and buttons;
- orange yarn or embroidery thread for the nose;
- contrasting yarn for the scarf;
- polyester stuffing;
- crochet hook suitable for your chosen yarn;
- yarn needle;
- scissors;
- stitch marker.
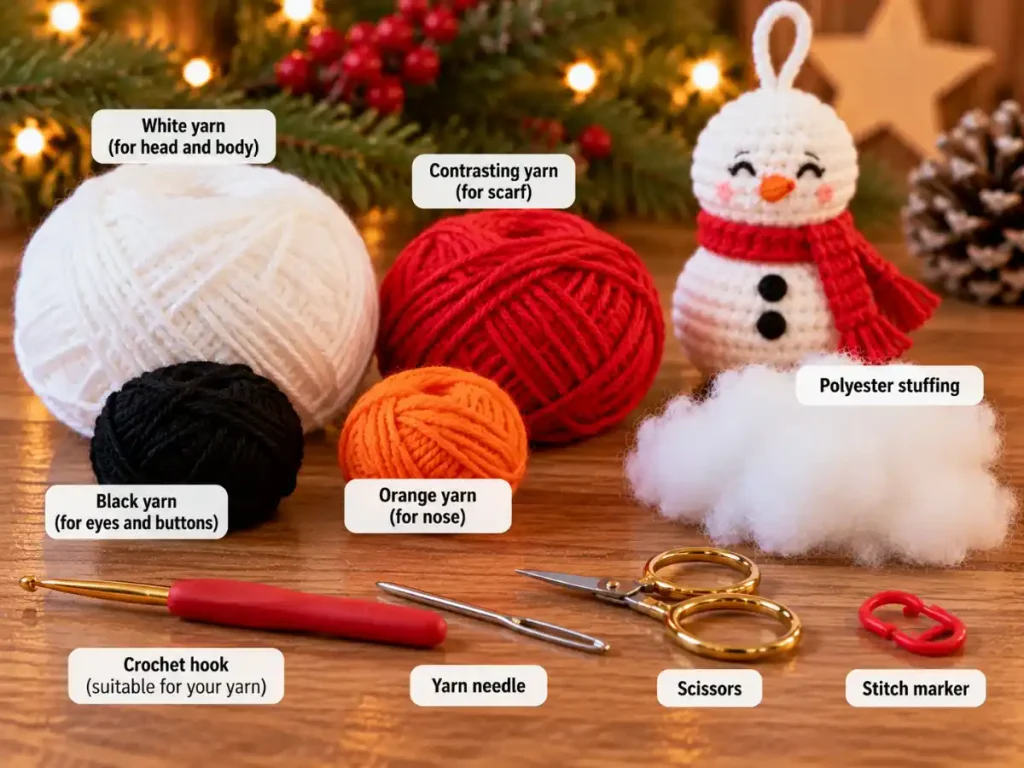
The pattern does not depend on one specific yarn weight or hook size. Different materials will change the finished size and proportions, so choose a hook that creates a firm fabric that holds the stuffing securely.
Crochet Stitches and Abbreviations
This pattern uses US crochet terminology.
- MR — magic ring
- ch — chain
- sc — single crochet
- sl st — slip stitch
- inc — work 2 sc in the same stitch
- dec — single crochet decrease
- st / sts — stitch / stitches
- rnd — round
The head and body are worked in continuous rounds unless otherwise stated. Use a stitch marker to mark the beginning of each round.
For a general reference, see the Craft Yarn Council crochet abbreviations.
Before You Start This Crochet Snowman Ornament Pattern
The head and body are crocheted as one continuous piece.
You will begin at the top of the head, increase to create the rounded shape, narrow the work to form the neck, and then increase again for the larger body.
The face is embroidered before the neck becomes too narrow to work comfortably. Stuffing is added gradually rather than all at once so you can shape both sections evenly.
The scarf is made separately after the snowman is complete. Instead of using a fixed chain count, make it long enough to wrap loosely around the neck with short ends remaining.
How to Crochet the Snowman Ornament
Step 1: Crochet the Head
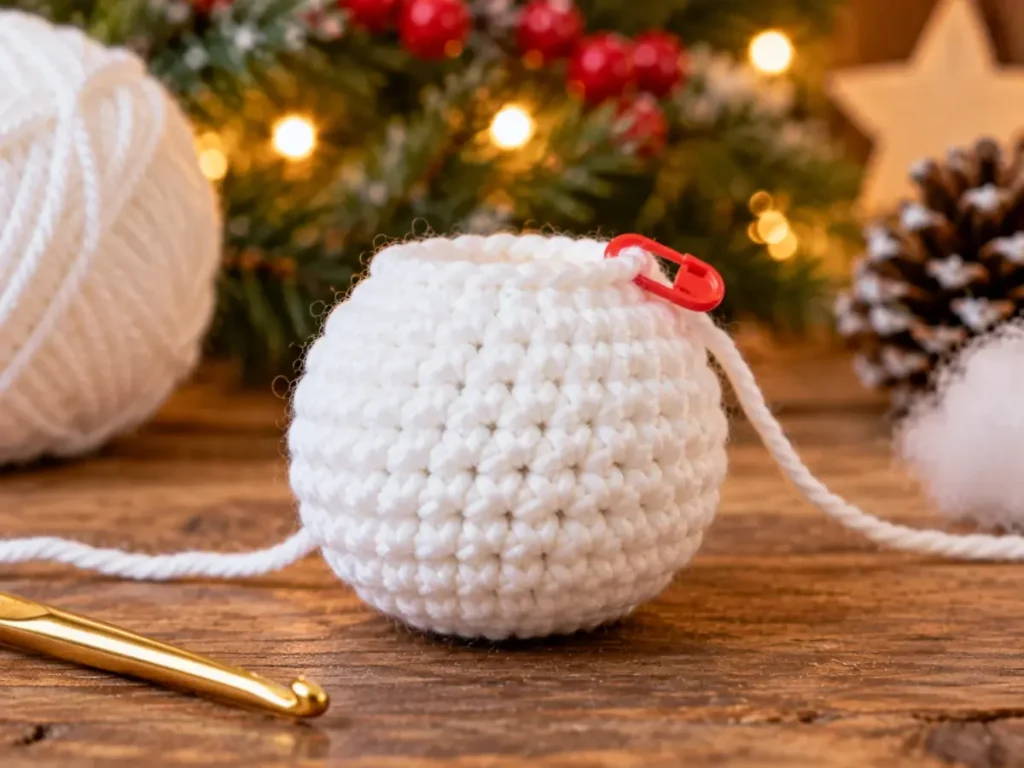
With white yarn:
R1: Work 6 sc in MR. [6]
R2: Inc in each st around. [12]
R3: (sc, inc) ×6. [18]
R4–R6: Sc around. [18]
At this point, the head should have a rounded shape with 18 stitches around its widest section.
Add a small amount of stuffing, but do not overfill the head.
Step 2: Embroider the Snowman Face
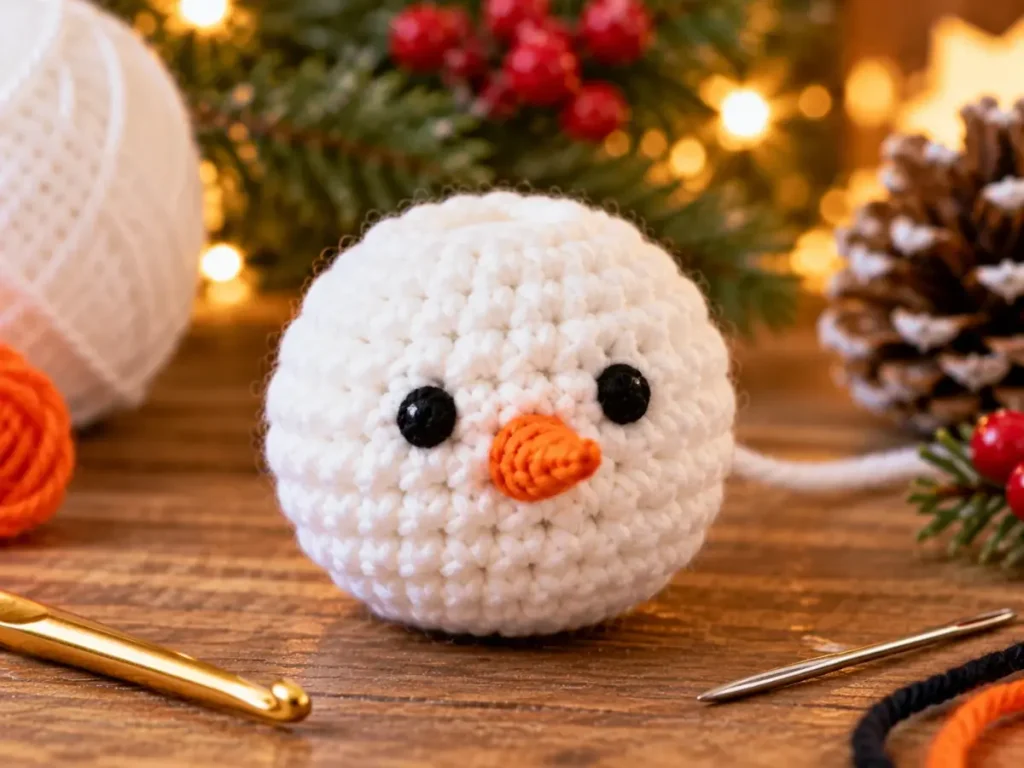
Before narrowing the neck, use black yarn or embroidery thread to make two small eyes on the front of the head.
Add a short orange embroidered nose below the eyes.
Keep the facial features visually centered rather than relying on fixed stitch spacing. The exact placement will vary depending on your yarn, tension, and the shape created by your stuffing.
Check the face from the front before continuing.
Step 3: Shape the Neck
Continue with white yarn.
R7: (sc, dec) ×6. [12]
Adjust the head stuffing if needed.
R8: Dec ×6. [6]
You should now have a narrow six-stitch section connecting the head to the body.
Do not fasten off.
Neck Checkpoint
The head should remain rounded while the neck creates a clear transition into the body.
If the neck looks too wide, recount R8 and confirm that you finished with six stitches.
Step 4: Expand the Body
Continue directly from the neck.
R9: Inc ×6. [12]
R10: (sc, inc) ×6. [18]
R11: (2 sc, inc) ×6. [24]
R12–R14: Sc around. [24]
The body should now look fuller than the head.
The stitch progression from the neck is:
6 → 12 → 18 → 24
This gradual increase creates the wider lower section of the snowman without sewing a separate body onto the head.
Step 5: Stuff and Close the Body
Begin adding stuffing gradually.
Keep it distributed evenly around the body so the snowman does not lean heavily to one side.
R15: (2 sc, dec) ×6. [18]
R16: (sc, dec) ×6. [12]
Finish stuffing and gently shape the body.
R17: Dec ×6. [6]
Fasten off, leaving a tail.
Use the yarn needle to close the remaining opening securely and weave in the end.
Body Checkpoint
Before continuing, check that:
- the head is smaller than the body;
- the neck remains visible;
- the body looks evenly stuffed;
- the snowman can hang without the lower section twisting sharply to one side.
Step 6: Add the Buttons
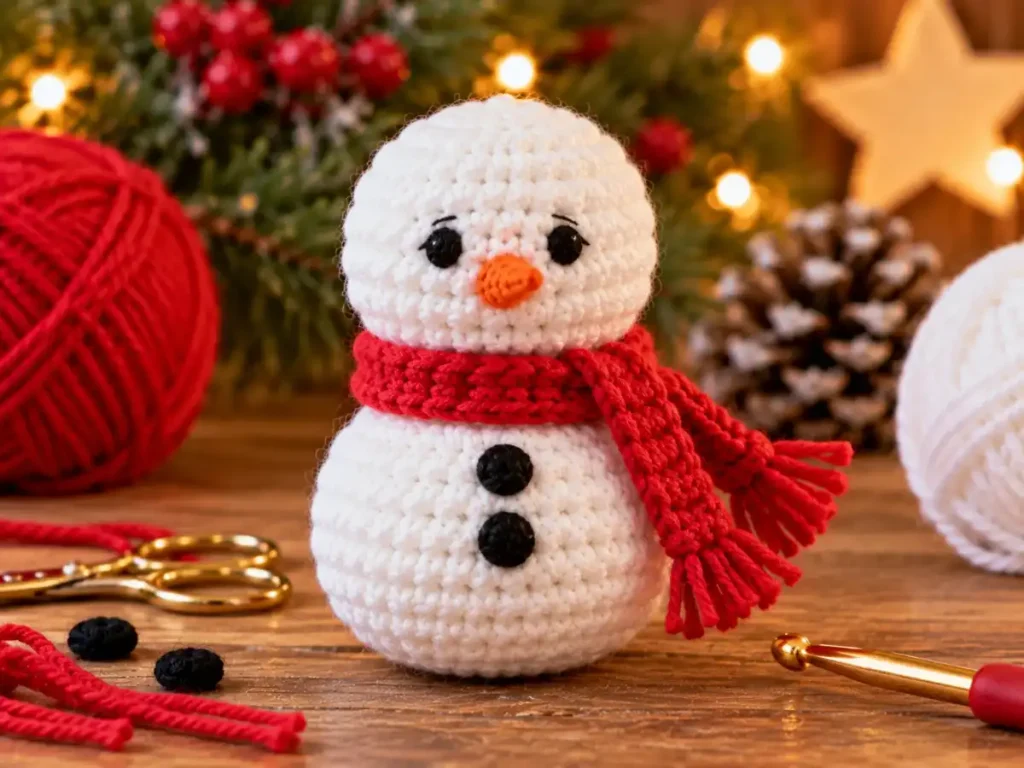
Using black yarn or embroidery thread, add two small buttons vertically down the front of the body.
Keep the placement balanced by eye.
The buttons are decorative, so you do not need beads or separate pieces.
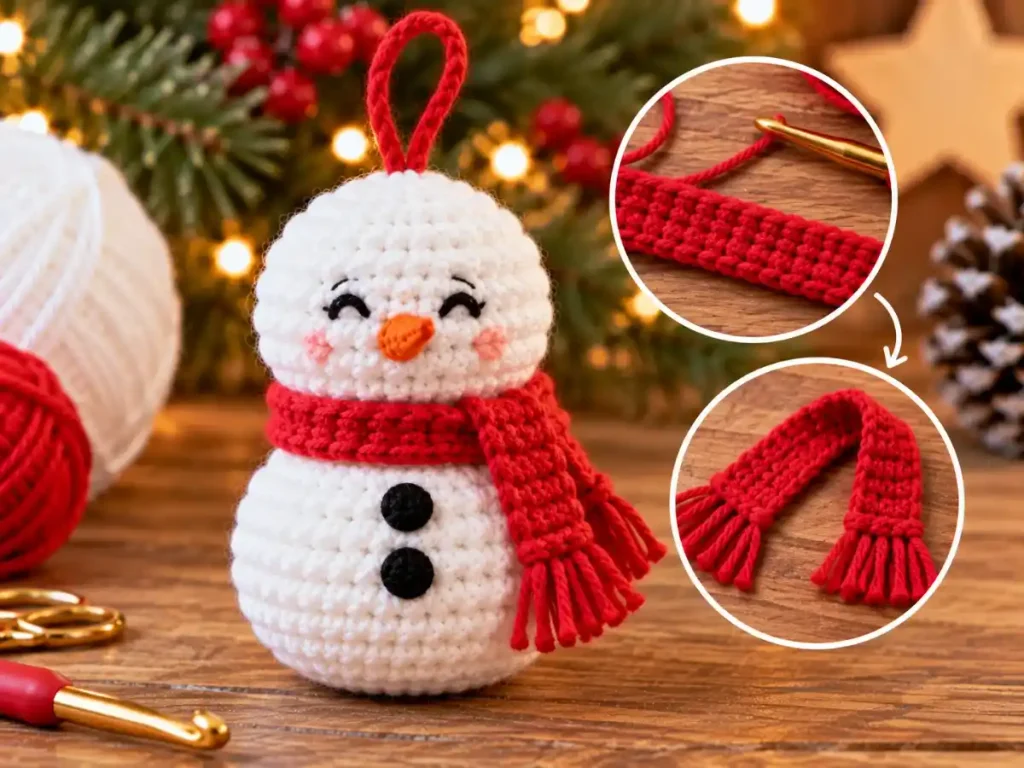
Step 7: Crochet the Scarf
Choose a contrasting yarn color.
Chain until the strip can wrap loosely once around the snowman’s neck with short ends remaining.
Starting in the second chain from the hook, work 1 sc in each chain across.
Fasten off and weave in the ends.
Wrap the scarf around the narrow neck section.
Secure it loosely enough that it does not squeeze or distort the crocheted neck.
You can leave the ends hanging naturally or position them slightly to one side.
Step 8: Add the Hanging Loop
Join white yarn at the top center of the snowman’s head.
Ch 12.
Sl st back into the same top-center attachment area to form the loop.
Fasten off securely.
Hold the ornament by the loop before weaving in the final tail.
If the snowman hangs noticeably sideways, move the attachment point closer to the visual center of the crown.
Final Snowman Shape Check
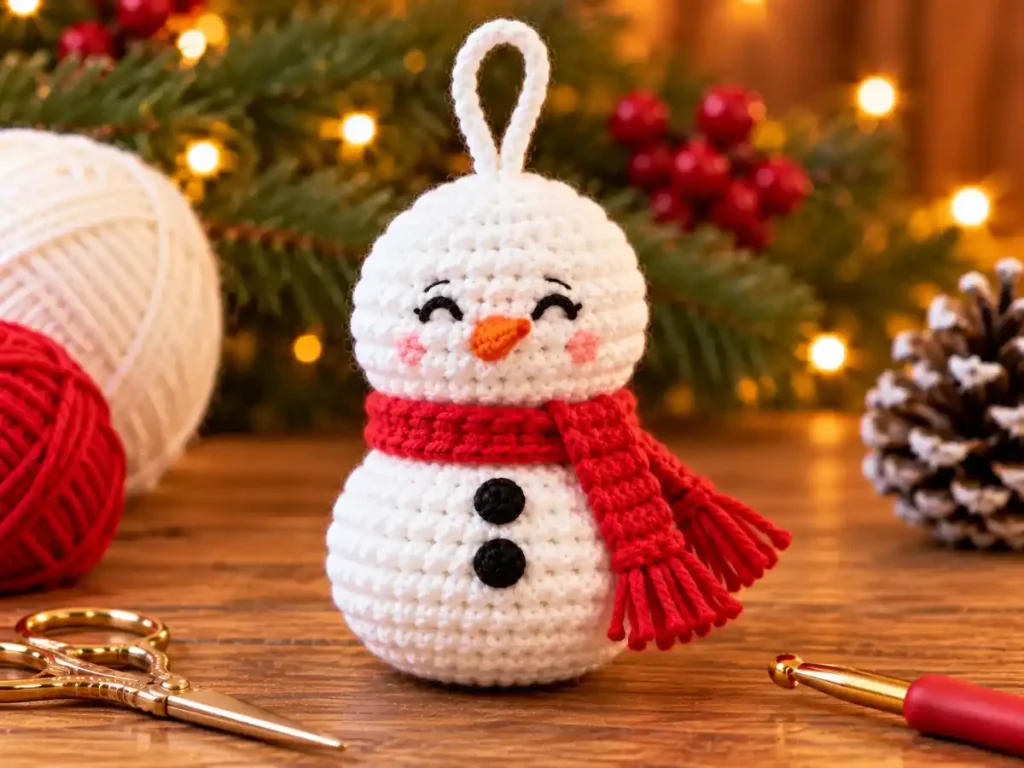
Your finished ornament should have:
- a small rounded white head;
- a narrow neck;
- a fuller rounded body;
- two embroidered black eyes;
- a small orange nose;
- two black embroidered buttons;
- a simple contrasting scarf;
- a centered hanging loop.
The scarf, embroidery, and yarn colors can be changed without affecting the core construction.
Common Crochet Snowman Ornament Problems
Why Does the Head Look Too Long?
Check that R4–R6 were worked evenly at 18 stitches and avoid stretching the fabric with too much stuffing.
Why Is the Neck Too Wide?
R8 should finish with exactly 6 stitches.
If more stitches remain, recount the decreases.
Why Does the Body Look Too Small?
The body should reach 24 stitches at R11 before the three even rounds.
Check the increase sequence:
12 → 18 → 24
Why Is My Snowman Leaning?
Uneven stuffing can push one side outward more than the other.
Gently redistribute the stuffing before closing the bottom.
Why Does the Face Look Off-Center?
Facial placement is easier to adjust before the neck is completely closed.
Check the face from the front after lightly stuffing the head.
Why Is the Scarf Distorting the Neck?
The scarf may be tied or wrapped too tightly.
Loosen it so it rests around the neck without compressing the six-stitch transition.
Why Does the Ornament Hang Sideways?
Check the hanging loop attachment.
It should sit close to the top-center axis of the head.
Ways to Use Your Crochet Snowman Ornament
This little snowman can be used as:
- a Christmas tree ornament;
- a handmade gift topper;
- part of a seasonal garland;
- a small Christmas decoration.
Make several in different scarf colors if you want a coordinated ornament set.
More Seasonal Crochet
If you’re building a handmade Christmas ornament collection, try our crochet Christmas tree ornament pattern next.
You can also make this crochet star ornament pattern for another simple handmade decoration to add to your Christmas tree.
Together, the snowman, tree, and star create a small seasonal ornament collection that you can customize with different yarn colors.
Frequently Asked Questions
Is This Crochet Snowman Ornament Pattern Free?
Yes. This free crochet snowman ornament pattern includes the complete written instructions for the head, body, embroidered details, scarf, and hanging loop.
Is This Pattern Suitable for Beginners?
It uses basic single crochet, increases, decreases, stuffing, and simple embroidery.
A confident beginner who is comfortable working in continuous rounds and counting stitches should be able to follow the construction.
Does the Head Need to Be Sewn to the Body?
No.
The head, neck, and body are worked continuously as one piece.
Do I Need Safety Eyes?
No.
The default pattern uses embroidered black eyes, so safety eyes are not required.
Can I Use Different Yarn?
Yes.
Different yarn and hook combinations will change the finished size, stitch definition, and proportions.
Can I Leave Off the Scarf?
Yes.
The scarf is decorative and does not affect the snowman’s structure.
Can I Add a Hat?
Yes, if you want to personalize the ornament, but a hat is not required for the core pattern.
Final Thoughts
This crochet snowman ornament pattern keeps the construction simple by working the head and body continuously instead of sewing separate pieces together.
The embroidered face, two buttons, adjustable scarf, and hanging loop add the Christmas details without making the pattern unnecessarily complicated.
Once you understand the basic shaping sequence, you can repeat the snowman in different scarf colors to create a small handmade ornament set for your tree, gifts, or seasonal decorations.
